Model
|
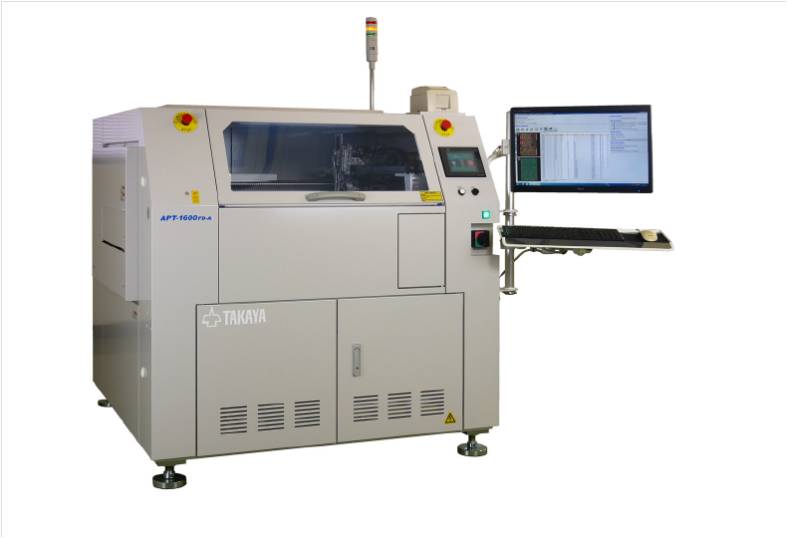
APT-1600FD / 1600FD-A
|
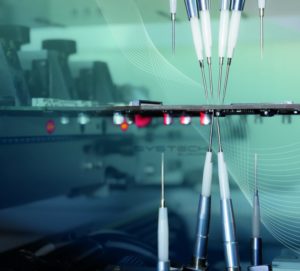
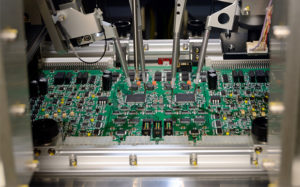
Flying probes and sensors
|
Topside
|
Standard type: 4 tilted contact probes
Single Z type: 4 tilted contact probes and 2 vertical contact probes or 2 IC-open check probes (changeable)
Dual Z type: 4 tilted contact probes and 2 vertical contact probes and 2 IC-open check probes
LED ON-color test sensors: 2 sensors (option)
|
Bottom side
|
Standard type: 2 tilted contact probes
Standard with vertical Z type: 2 tilted contact probes and 2 vertical contact probes or 2 IC-open check probes/support-pins (changeable)
LED ON-color test sensors: 2 sensors (option)
|
Positioning resolution of flying probes
|
X and Y axes : 1.25µm (0.05mil), Z-axis : 5µm (0.2mil)
|
Positioning repeatability of flying probe (XY)
|
±30 to ±40µm (±1.2 to ±1.6mil) in the high precision mode, approx.
|
Minimum pad size of probing
|
60 to 80µm (2.4 to 3.2mil) in the high precision mode
|
Minimum pad pitch of probing
|
150 to 190µm (6.0 to 7.5mil) in use of needle probes
|
Test time (at 2.5mm pitch movement)
|
Combination test : max. 0.02 – 0.03sec. /step, Single test : max. 0.05 – 0.06sec. /step
|
Signal sources for board test
|
DC Voltage/current generator -1 and 2: Four-quadrant source & measure system, max. ±20V/±1A
DC Voltage/current generator -3: Four-quadrant source & measure system, max. ±80V/±1A, option
AC Constant voltage generator: max. 20Vpk/100mApk, f=1Hz to 0.5MHz (sine, square, or triangle wave)
|
Measuring ranges
|
DC Voltage, Current: ±125V, ±2A(max.±40V) or ±1A(max. ±80V, option)
AC Voltage, Current: 150mV to 75Vrms, 0.7µA to 70mArms(max. 20Vpk) f=10Hz to 0.5MHz Frequency: 1Hz to 20MHz
Resistors: 5mΩ to 50MΩ
Capacitors : 0.5pF to 200mF
Inductors: 0.5µH to 500H
Impedance/phase angle: 2.5Ω to 3.3MΩ / ±90°
Transformers: Inductance, detection of winding, transmission ratio Forward voltage of PN junction: 0.1V to 40V
Zener voltage: 0.1V to 40V (Max.80V, optional)
Isolation test: Threshold is programmable from 5Ω to 50MΩ
Continuity test: Threshold is programmable from 1Ω to 500KΩ
Diodes/transistors/FETs: Forward voltage of PN junction, ON test, Gain, Static characteristics
Relays/optocouplers/SW devices: ON test
Open fault detection of IC leads: Forward voltage measure of PN junction or IC-open check probes
|
Displacement measurement system TLS-1
|
Light source: Red semiconductor laser (Topside)
Measuring method: Light/reflective type (laser displacement)
Laser beam diameter: 0.25×2.65mm to 0.40×2.75mm (changes by the height of the measurement point)
Measuring range: -5.0 to +50.0mm (-0.95″ to +1.95″)
Repeatability: ±100µm or less
Measuring time: 1ms/point (not included XY movement time)
Application: Coordinates alignment by automatic generation of 3D-mapping Non-mounted components, floating components, missing components, etc.
|
Vision test system TOS-7F
|
Camera: 1/3″CCD megapixel color digital type (dual side)
The light source for cameras: Ring-shaped white LED with brightness controllable to 256 steps
Application: Coordinates alignment, simple vision test, reading of barcode & 2D code, real-map, etc.
Vision test item: Non-mounted components, components shifting, missing components, polarity, color inspection of parts
Image registration: Max. 2000 scenes (sum total on the dual side)
|
LED ON-color test system DOT-1 (option)
|
Sensor type: 12-bit digital type, Sensitive to red, green, and blue regions of the spectrum
Detectable: Hue, saturation, and luminance by R.G.B color ratio
Sensing area: 1mm square (in the reference plane), approx.
Detection time: 1ms/point (not included exposure time and XY movement time)
|
Test steps
|
Max. 350000 steps
|
Testable boards specifications
|
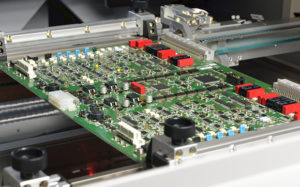
Test area (max.): L540 × D483mm (21.3″×19″), Dual side
Board size: L50 × D50mm (2″×2″) to L540 × D483mm (21″×19″)
Component height (max.): Top side 60mm (2.4″), Bottom side 60mm (2.4″) includes board thickness
Board thickness: 0.6 to 5.0mm (0.024″ to 0.2″)
Component free-area: 3mm (0.12″) or more from the front and rear edges (for board clamp)
|
Conveyor specifications (APT-1600FD-A)
|
Transferable board size: L50×D50mm (2″×2″) to L540×D483mm (21″×19″), Thickness 0.6 to 5.0mm
Direction and height: Left to right (standard), Right to left (option) FL 900mm (-15/+65mm)
Belts and speed: Timing belt (anti-static type), 200 to 667mm/sec. (programmable, 6 ranges)
Conveyor width adjustment: Front side – fixed, Rear side – auto adjustment (with correction mechanism of parallelism)
Interface for loader/unloader: SMEMA standards
Entrance shutters (option): Automatic opening and closing
Operation panel, Tower light: 5.6″ colors TFT touch LCD, Colors lamp (red/green/yellow ) with buzzer
|
Embedded PC and OS
|
Windows® PC (with DVD drive, HD drive, keyboard, mouse), Windows 7
|
Display & Printer
|
LCD: 1920×1080 resolution or higher resolution
Printer: Small thermal type (USB connection)
|
Power and Air supply
|
AC200 to 240V(automatic change system, single-phase) 50/60Hz (max. 4KVA), 0.6 to 0.8Mpa (dry clean air)
|
Operating environments
|
Temperature: 16 to 30˚C (60 to 86˚F )
Humidity: 30 to 75% (no condensation)
|
Main body dimensions (W×D×H), Weight
|
1400×1500×1400mm (55″×59″×55″), 1450Kgs (3200 lb)
|
Options
|
LED ON-color test sensors, DC ±80V/±1A programmable source & measurement unit, Function scanner board, Power relay board, NSW test software, etc.
|


